
Medical tubing connectors are the interface components that join a tube to another tube, a device, or a patient access point while maintaining a leak-free fluid or gas path. They fall into two broad families: standardized interfaces (luer, barbed, threaded, quick-disconnect) that follow published dimensional standards, and customized interfaces built to a specific device geometry. After reading this guide, you will be able to identify a connector type by its mating geometry, select the correct standard for a given line size, and write a custom connector specification that a manufacturer can quote without back-and-forth.
Table of Contents
How Medical Tubing Connectors Work
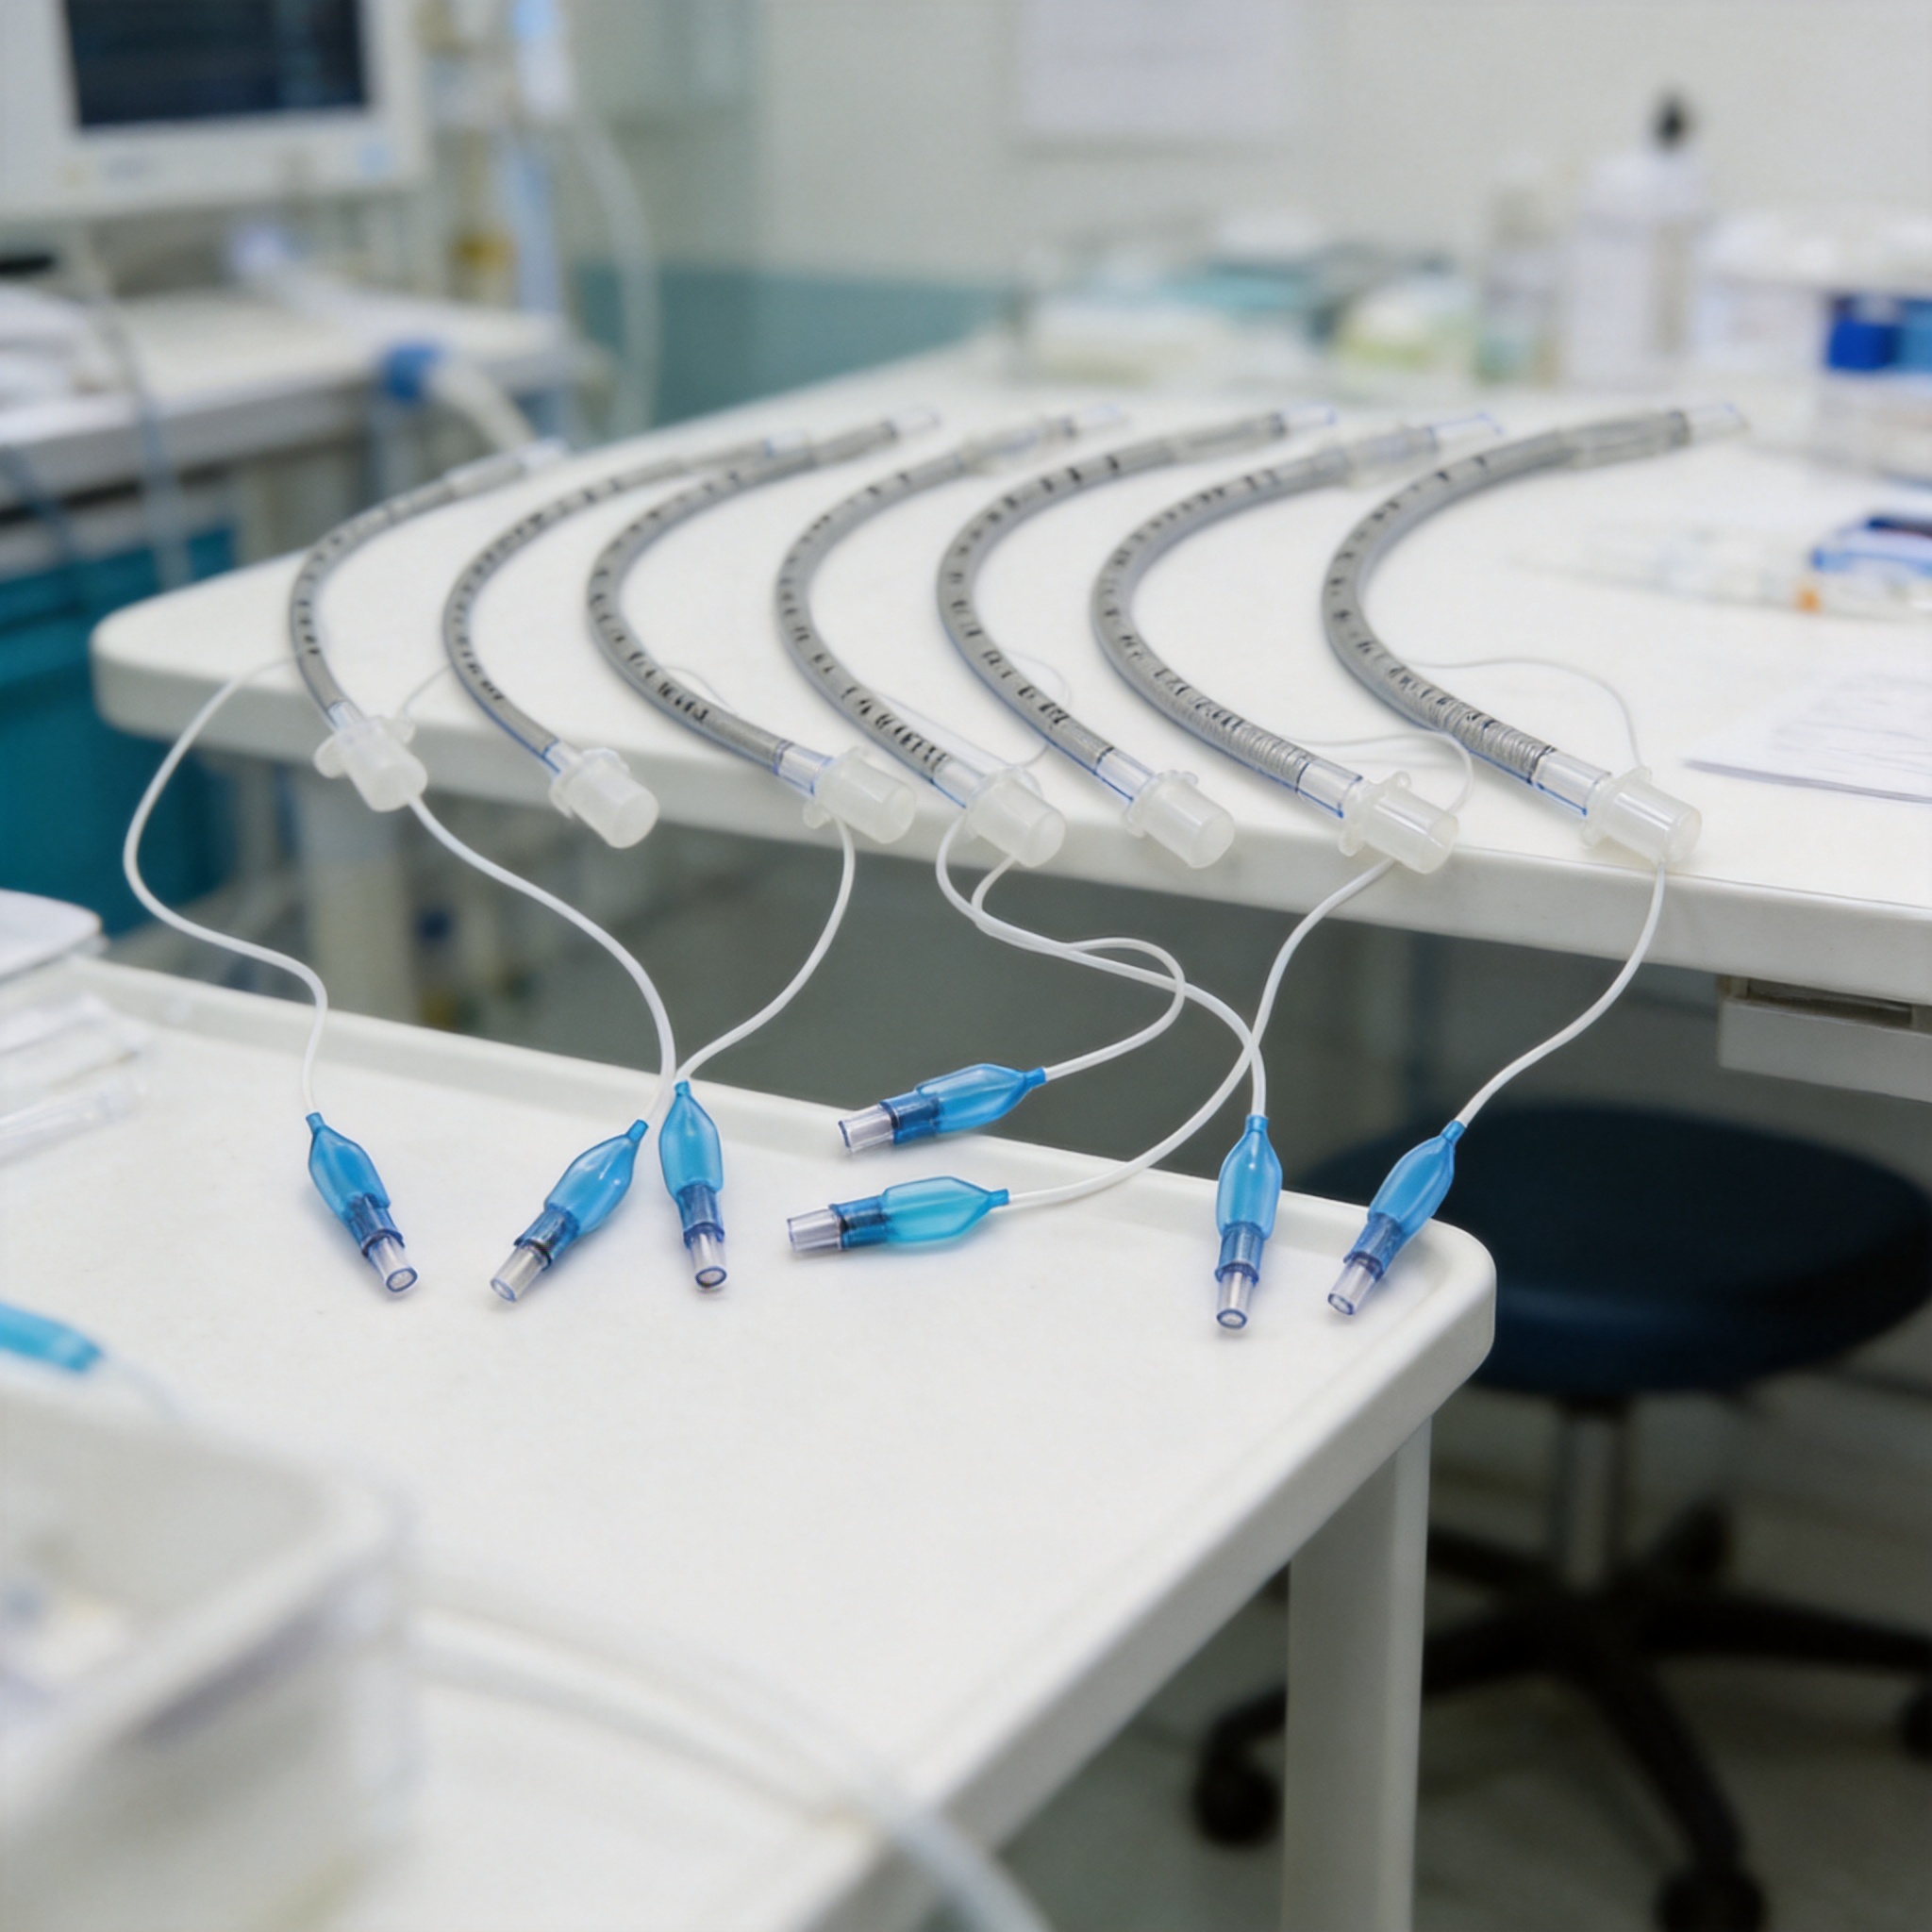
A connector performs three jobs at once: it transfers fluid or gas, it seals against leakage at the joint, and it resists accidental disconnection. The seal is created either by interference fit (a barb slightly larger than the tube ID stretches the tube wall) or by face/taper contact (two matched cones press together, as in a luer taper). Retention is separate from sealing and comes from friction, a thread, a snap latch, or a collar.
The single most important dimension is the bore — the internal passage diameter. Undersizing the bore raises flow resistance and can change infusion pump pressure readings. As a rule of thumb, keep the connector bore equal to or greater than the tube ID; never smaller, unless the connector is intentionally acting as a flow restrictor.
Material choice follows the sterilization method and the fluid chemistry. Common body materials are polycarbonate (PC), polysulfone (PSU), polypropylene (PP), and ABS. PVC tubing is usually bonded with cyclohexanone or a UV-cure adhesive; silicone tubing is usually stretched over a barb with no adhesive at all. If the assembly will be gamma sterilized, verify the resin’s gamma stability — PC yellows and can embrittle at high dose.
Standard Interface Types and How to Identify Them
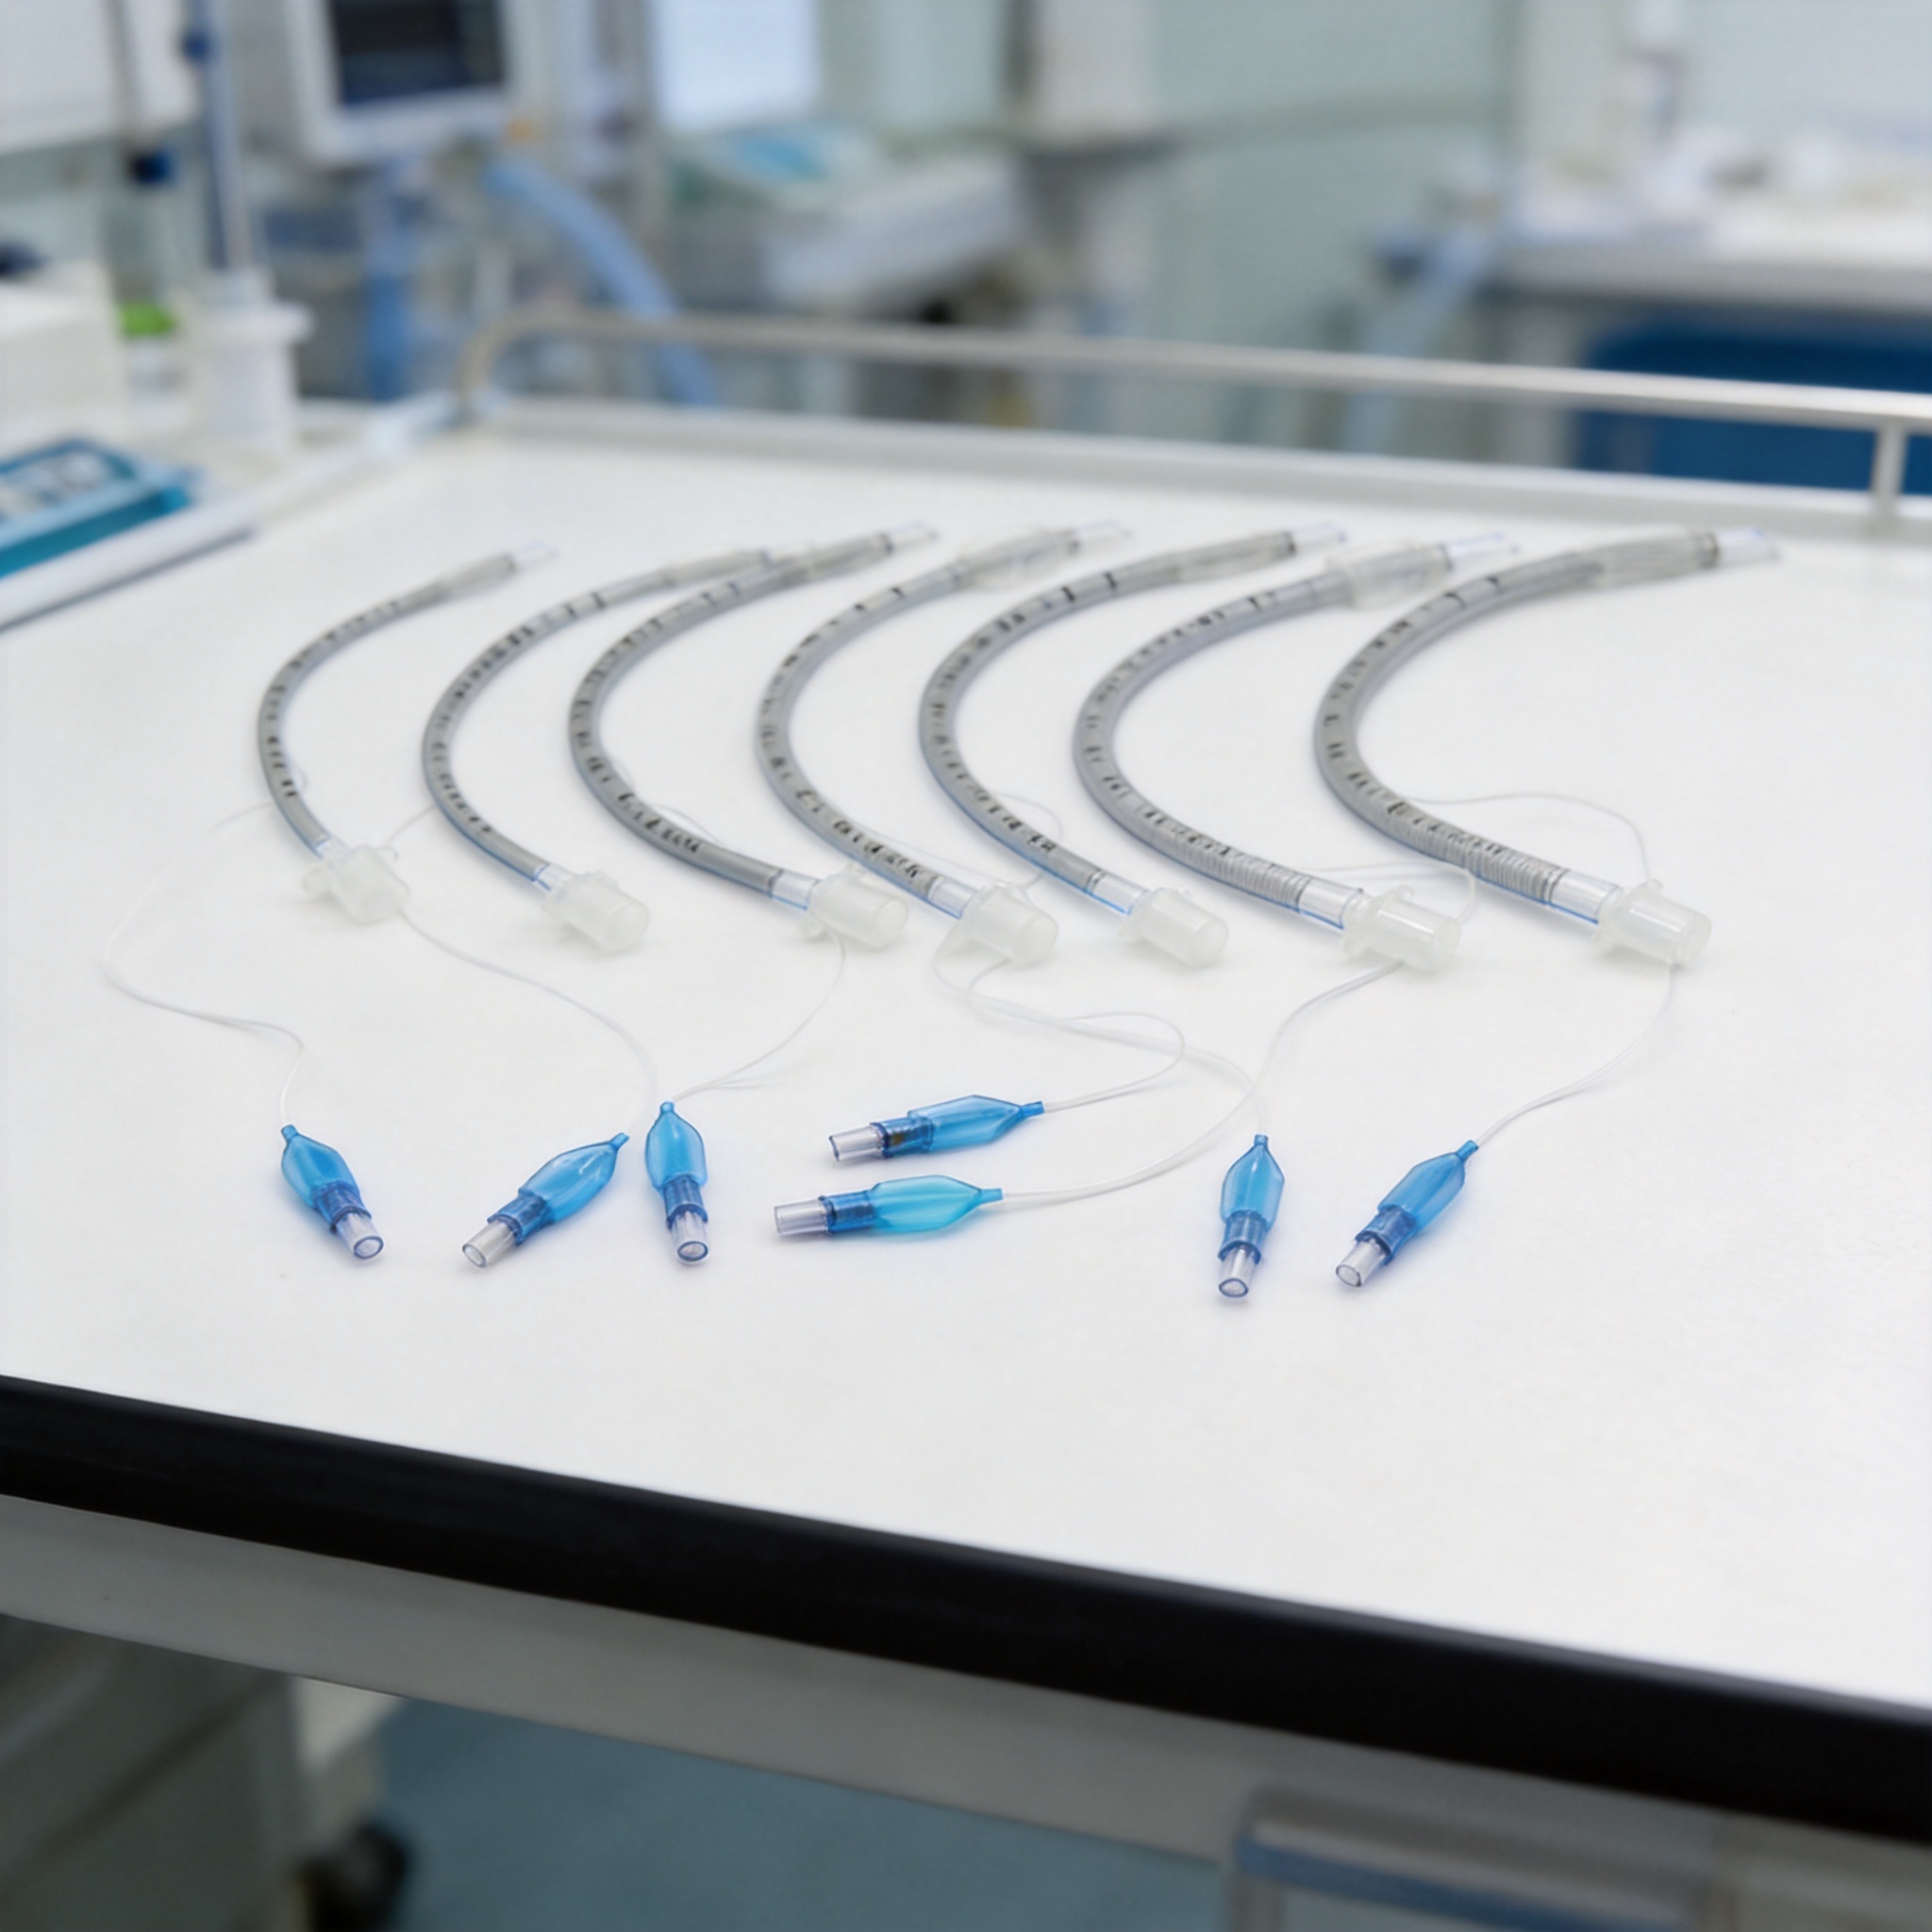
Standard connectors exist so that unrelated devices can be joined safely by any trained operator. The table below covers the types you will encounter most often in fluid-handling and gas-delivery lines.
| Interface type | Mating geometry | Typical tube ID | Retention method | Governing reference |
|---|---|---|---|---|
| Luer slip | 6% tapered cone | Rigid hub, no tube | Friction only | ISO 80369-7 |
| Luer lock | Taper + external thread | Rigid hub, no tube | Threaded collar | ISO 80369-7 |
| Barbed / hose barb | Stepped cones | 1.6–12.7 mm (1/16–1/2 in) | Interference + clamp | Manufacturer datasheet |
| Threaded port | UNF / metric thread + O-ring | 3–25 mm | Torque | SAE J1926 / ISO 6149 |
| Quick-disconnect | Latch + face seal | 3–12 mm | Snap latch, push-button release | ISO 80369 series |
| Welded / bonded joint | Matching tube OD | Any | Thermal or solvent weld | ISO 11607 (packaging context) |
Identifying a connector in 60 seconds
- Measure the smallest internal diameter with calipers. That is the bore.
- Look at the outside: if you see a 6% taper with a rotating collar, it is a luer lock; taper with no collar is luer slip.
- If you see stacked rings or steps, count them — that is a barb, and the count tells you the tube ID range.
- If you see a straight or tapered thread with a rubber ring at the base, it is a threaded port with an O-ring face seal.
- If there is a spring-loaded sleeve or push button, it is a quick-disconnect.
Note that ISO 80369 replaced the older ISO 594 series and, critically, split connectors by clinical application to prevent misconnection between unrelated lines (for example, an enteral feeding line and an IV line). The U.S. FDA recognizes this standard and has published guidance on reducing tubing misconnections — see the FDA page on reducing tubing misconnections. For the standard itself, refer to ISO 80369-7.
How to Specify a Custom Connector: Step by Step
You need a custom connector when no standard part fits the envelope, when the device requires a unique keying to prevent cross-connection, or when an off-the-shelf part adds too much dead volume. Follow these steps in order; each produces one line of the specification.
- Fix the fluid path first. Record bore diameter, overall length, and dead volume target in microliters. Dead volume is the trapped fluid between the tube end and the connector outlet; measure it by filling the connector with water and weighing the displaced mass (1 mg ≈ 1 µL).
- Choose the seal method. Use an interference barb for flexible PVC or silicone under 8 mm ID. Use a face O-ring for rigid tubing or any line above 2 bar. Use a welded joint when zero dead volume and zero leak risk are both required.
- Choose the retention method. Friction alone is acceptable only for lines that are never pulled. Add a thread for anything above 1 bar. Add a latch for lines that operators connect and disconnect more than 50 times.
- Define the keying. If the line must never mate with a neighboring line, specify a unique lug count, lug angle, or color. Document the angle in degrees from a datum, not “position A.”
- Pick the resin and sterilization method together. State the resin, the sterilization dose (for example, 25 kGy gamma), and the maximum number of sterilization cycles. This prevents a late material change.
- Set the test criteria. Write three numbers into the drawing: burst pressure, leak rate at working pressure, and pull-off force. Typical starting targets are 2× working pressure for burst, no visible bubbles at working pressure for 60 seconds, and 15 N minimum pull-off for lines under 6 mm ID.
- Request a first-article inspection report. Ask for dimensional results on the bore, taper angle, and thread pitch, plus the actual burst and pull-off values from the sample lot.
For a worked example: a 4.8 mm ID silicone drain line at 0.5 bar working pressure. Bore = 4.8 mm, dead volume target under 200 µL, seal = two-step barb, retention = barb plus a cable tie groove, resin = polysulfone (steam sterilized at 134 °C), keying = single 30° lug, test criteria = 1.5 bar burst, no leak at 0.5 bar for 60 s, 20 N pull-off. That is a complete, quotable specification in seven lines.
Common Mistakes and How to Fix Them
Mistake 1: Matching the tube OD instead of the tube ID. Symptom: the tube slides onto the barb easily but weeps at 1 bar. Cause: the barb was sized to the tube’s outside diameter, so there is no interference. Fix: measure the tube ID with calipers and select a barb whose largest step is 5–10% larger than that ID. For a 6.4 mm ID tube, the barb’s largest step should be roughly 6.7–7.0 mm.
Mistake 2: Ignoring dead volume in low-flow lines. Symptom: drug delivery lags the pump command by several seconds, or two fluids mix in the connector. Cause: a connector with a wide internal cavity holds fluid that is not displaced. Fix: calculate dead volume before selecting, and switch to a straight-through or reduced-cavity design. A connector holding 500 µL at a 1 mL/h flow rate adds 30 minutes of lag.
Mistake 3: Specifying a material that fails after sterilization. Symptom: cracks appear at the barb root two to four weeks after gamma sterilization. Cause: residual stress plus radiation-induced embrittlement. Fix: switch to a radiation-stable grade, anneal the part before sterilization, or move to steam or EtO sterilization. Always request the resin supplier’s gamma stability data before tooling.
Mistake 4: Using a standard connector in a non-standard application. Symptom: a feeding line connects to an IV line. Cause: both use the same legacy luer geometry. Fix: adopt the application-specific ISO 80369 part for that clinical use, or add mechanical keying that makes the wrong pair physically impossible to mate.
Mistake 5: No pull-off or burst number on the drawing. Symptom: the first production lot passes, the third lot separates in the field. Cause: the supplier changed resin or barb tooling with no acceptance limit to fail against. Fix: put burst pressure, leak rate, and pull-off force on the drawing as pass/fail values, and require the values on every lot certificate.
FAQ
What is the difference between a luer slip and a luer lock? Both use the same 6% tapered cone, so both seal the same way. A luer slip relies on friction alone and can pop off under pressure. A luer lock adds an external thread and a collar that screws down, so it resists pressures and accidental pulls far better. Use luer lock for anything above roughly 1 bar or anything that gets moved while connected.
How do I know what size barb I need for my tube? Measure the tube’s inside diameter, not the outside. Pick a barb whose largest step is 5–10% larger than that ID. If your tube ID is 3.2 mm, look for a barb with a largest step between 3.4 mm and 3.5 mm. If the tube slides on with no resistance, the barb is too small.
Can I sterilize a connector more than once? Only if the resin and the design were validated for it. Most single-use connectors are validated for one sterilization cycle. Repeated autoclaving degrades polycarbonate and can warp the taper, which destroys the seal. If you need reuse, specify the number of cycles on the drawing and require cycle testing.
When is a custom connector actually worth it? When a standard part fails one of three tests: it does not fit the envelope, it holds too much dead volume, or it can be misconnected to a neighboring line. If none of those three apply, a standard part is cheaper, faster to source, and already validated.
What tests should I require on a connector lot? At minimum: dimensional check on bore and taper, leak test at working pressure for 60 seconds, burst test at 2× working pressure, and pull-off force. Ask for the raw values, not just a pass stamp, so you can trend them across lots.
Where can I find the official connector standards? The ISO 80369 series covers small-bore connectors by clinical application and is available through the ISO technical committee page. In the United States, the FDA’s recognized consensus standards database lists which edition is currently accepted.




 English
 Deutsch
 Français
 Русский
 Español
 Português