
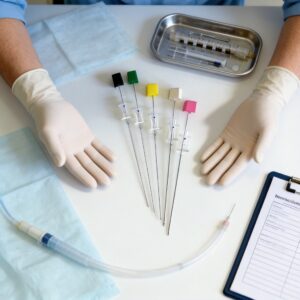
Consumables for ultrasound-guided regional anesthesia are the sterile, single-use items required to perform a nerve block: a nerve block needle (insulated, echogenic, with a facet or pencil-point tip), a catheter kit when continuous infusion is planned, and the supporting items such as syringes, extension tubing, skin antiseptic, sterile gel, and a probe cover. The needle delivers local anesthetic to the target nerve; the catheter keeps it there. Everything else exists to keep the field sterile and the needle visible on screen.
By the end of this article, you will be able to read a needle label and decide whether it is appropriate for a given block, assemble a catheter kit in the correct order, and recognize the three setup errors that most often ruin a block before the needle even touches skin.
Table of Contents
- Why the Consumables Matter: Mechanism
- How to Select and Set Up the Consumables
- Common Mistakes and How to Fix Them
- FAQ for Beginners
Why the Consumables Matter: Mechanism
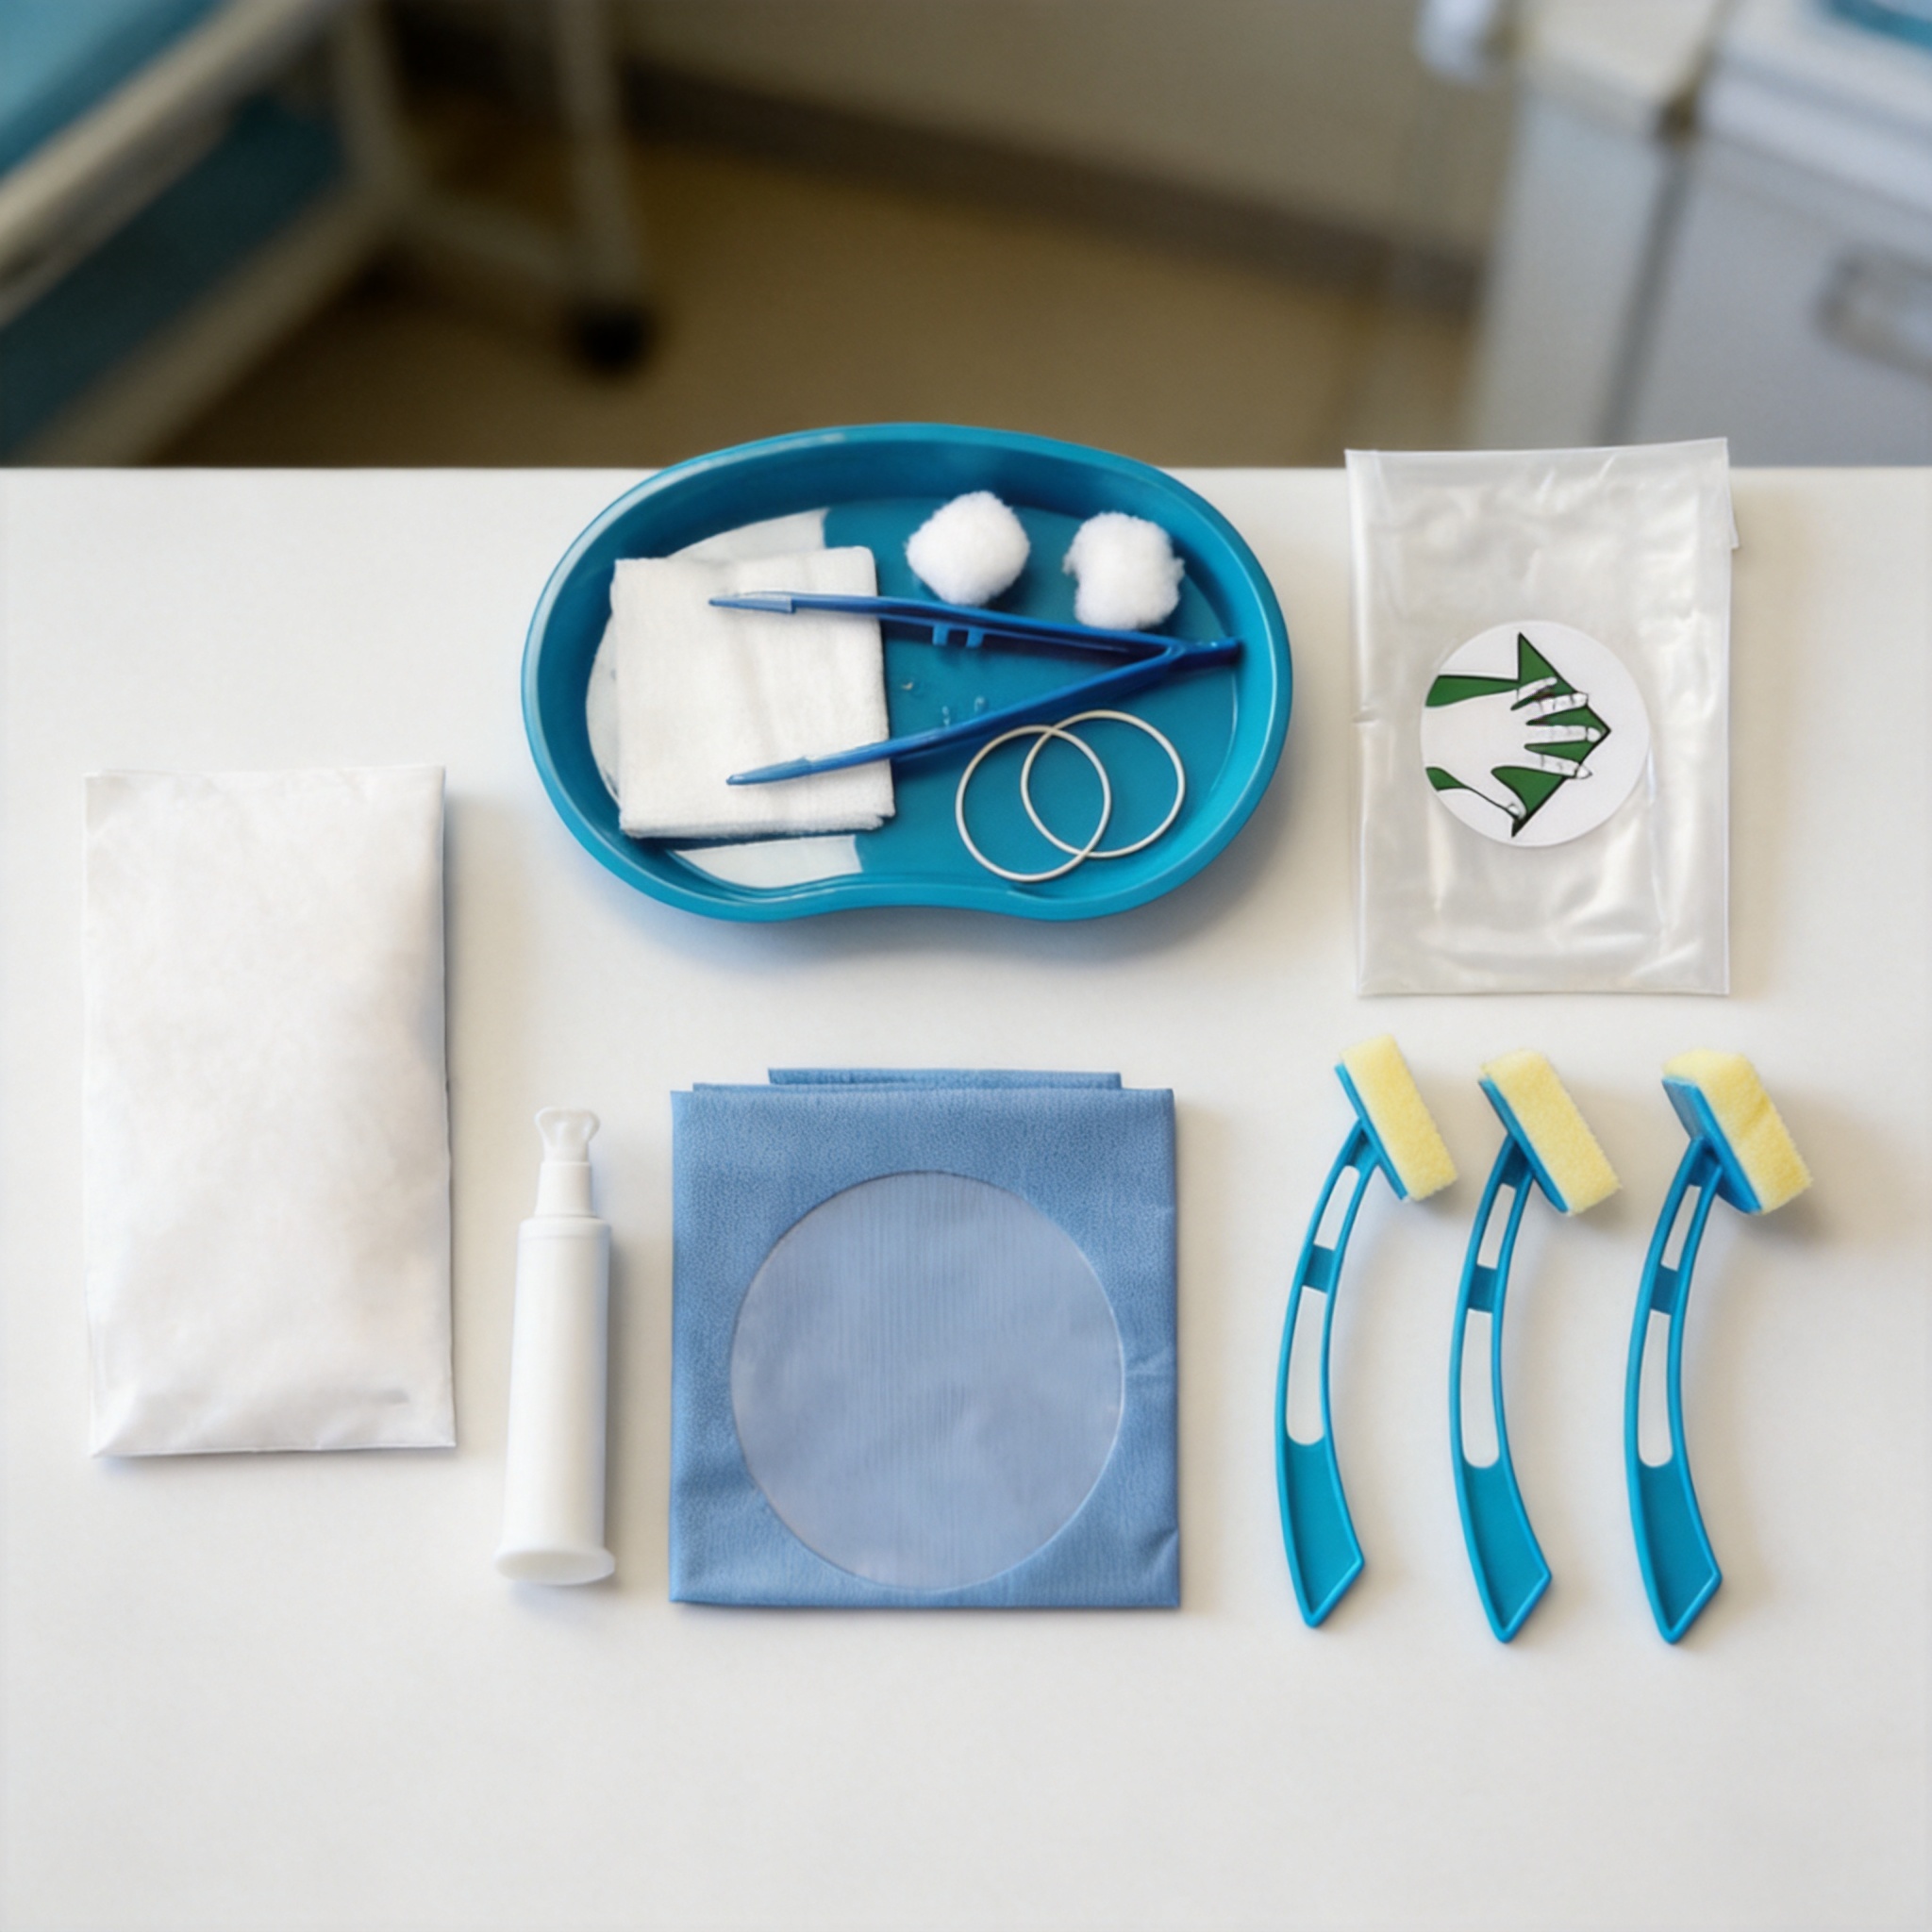
Three properties of the consumables directly determine whether your block succeeds: needle visibility, needle tip geometry, and electrical insulation.
Visibility. Standard needles reflect ultrasound poorly and appear as a faint, unreliable line. Echogenic needles have micro-corrugations or a polymer coating that scatter the beam back to the transducer. In practice, an echogenic needle at a 45-degree insertion angle is visible at depths where a smooth needle disappears. If you cannot see the tip, you cannot know where the anesthetic is going.
Tip geometry. A short-bevel (facet) tip is sharp and cuts; a pencil-point tip is blunt and pushes tissue apart. Short-bevel tips give better tactile feedback for fascial “pops” but carry a higher risk of intraneural penetration. Pencil-point tips reduce that risk and are the safer default for beginners learning on soft tissue.
Insulation. An insulated needle exposes only the tip as conductive. This matters if you use a nerve stimulator as a secondary confirmation tool. A non-insulated needle will stimulate tissue along its entire shaft, producing misleading motor responses.
Catheters add a fourth variable: threadability. A catheter that kinks or coils at the tip will not advance past the needle bevel. Manufacturers specify a maximum depth beyond the needle tip — usually 3 to 5 cm — and exceeding it is a common cause of failed placement.
How to Select and Set Up the Consumables
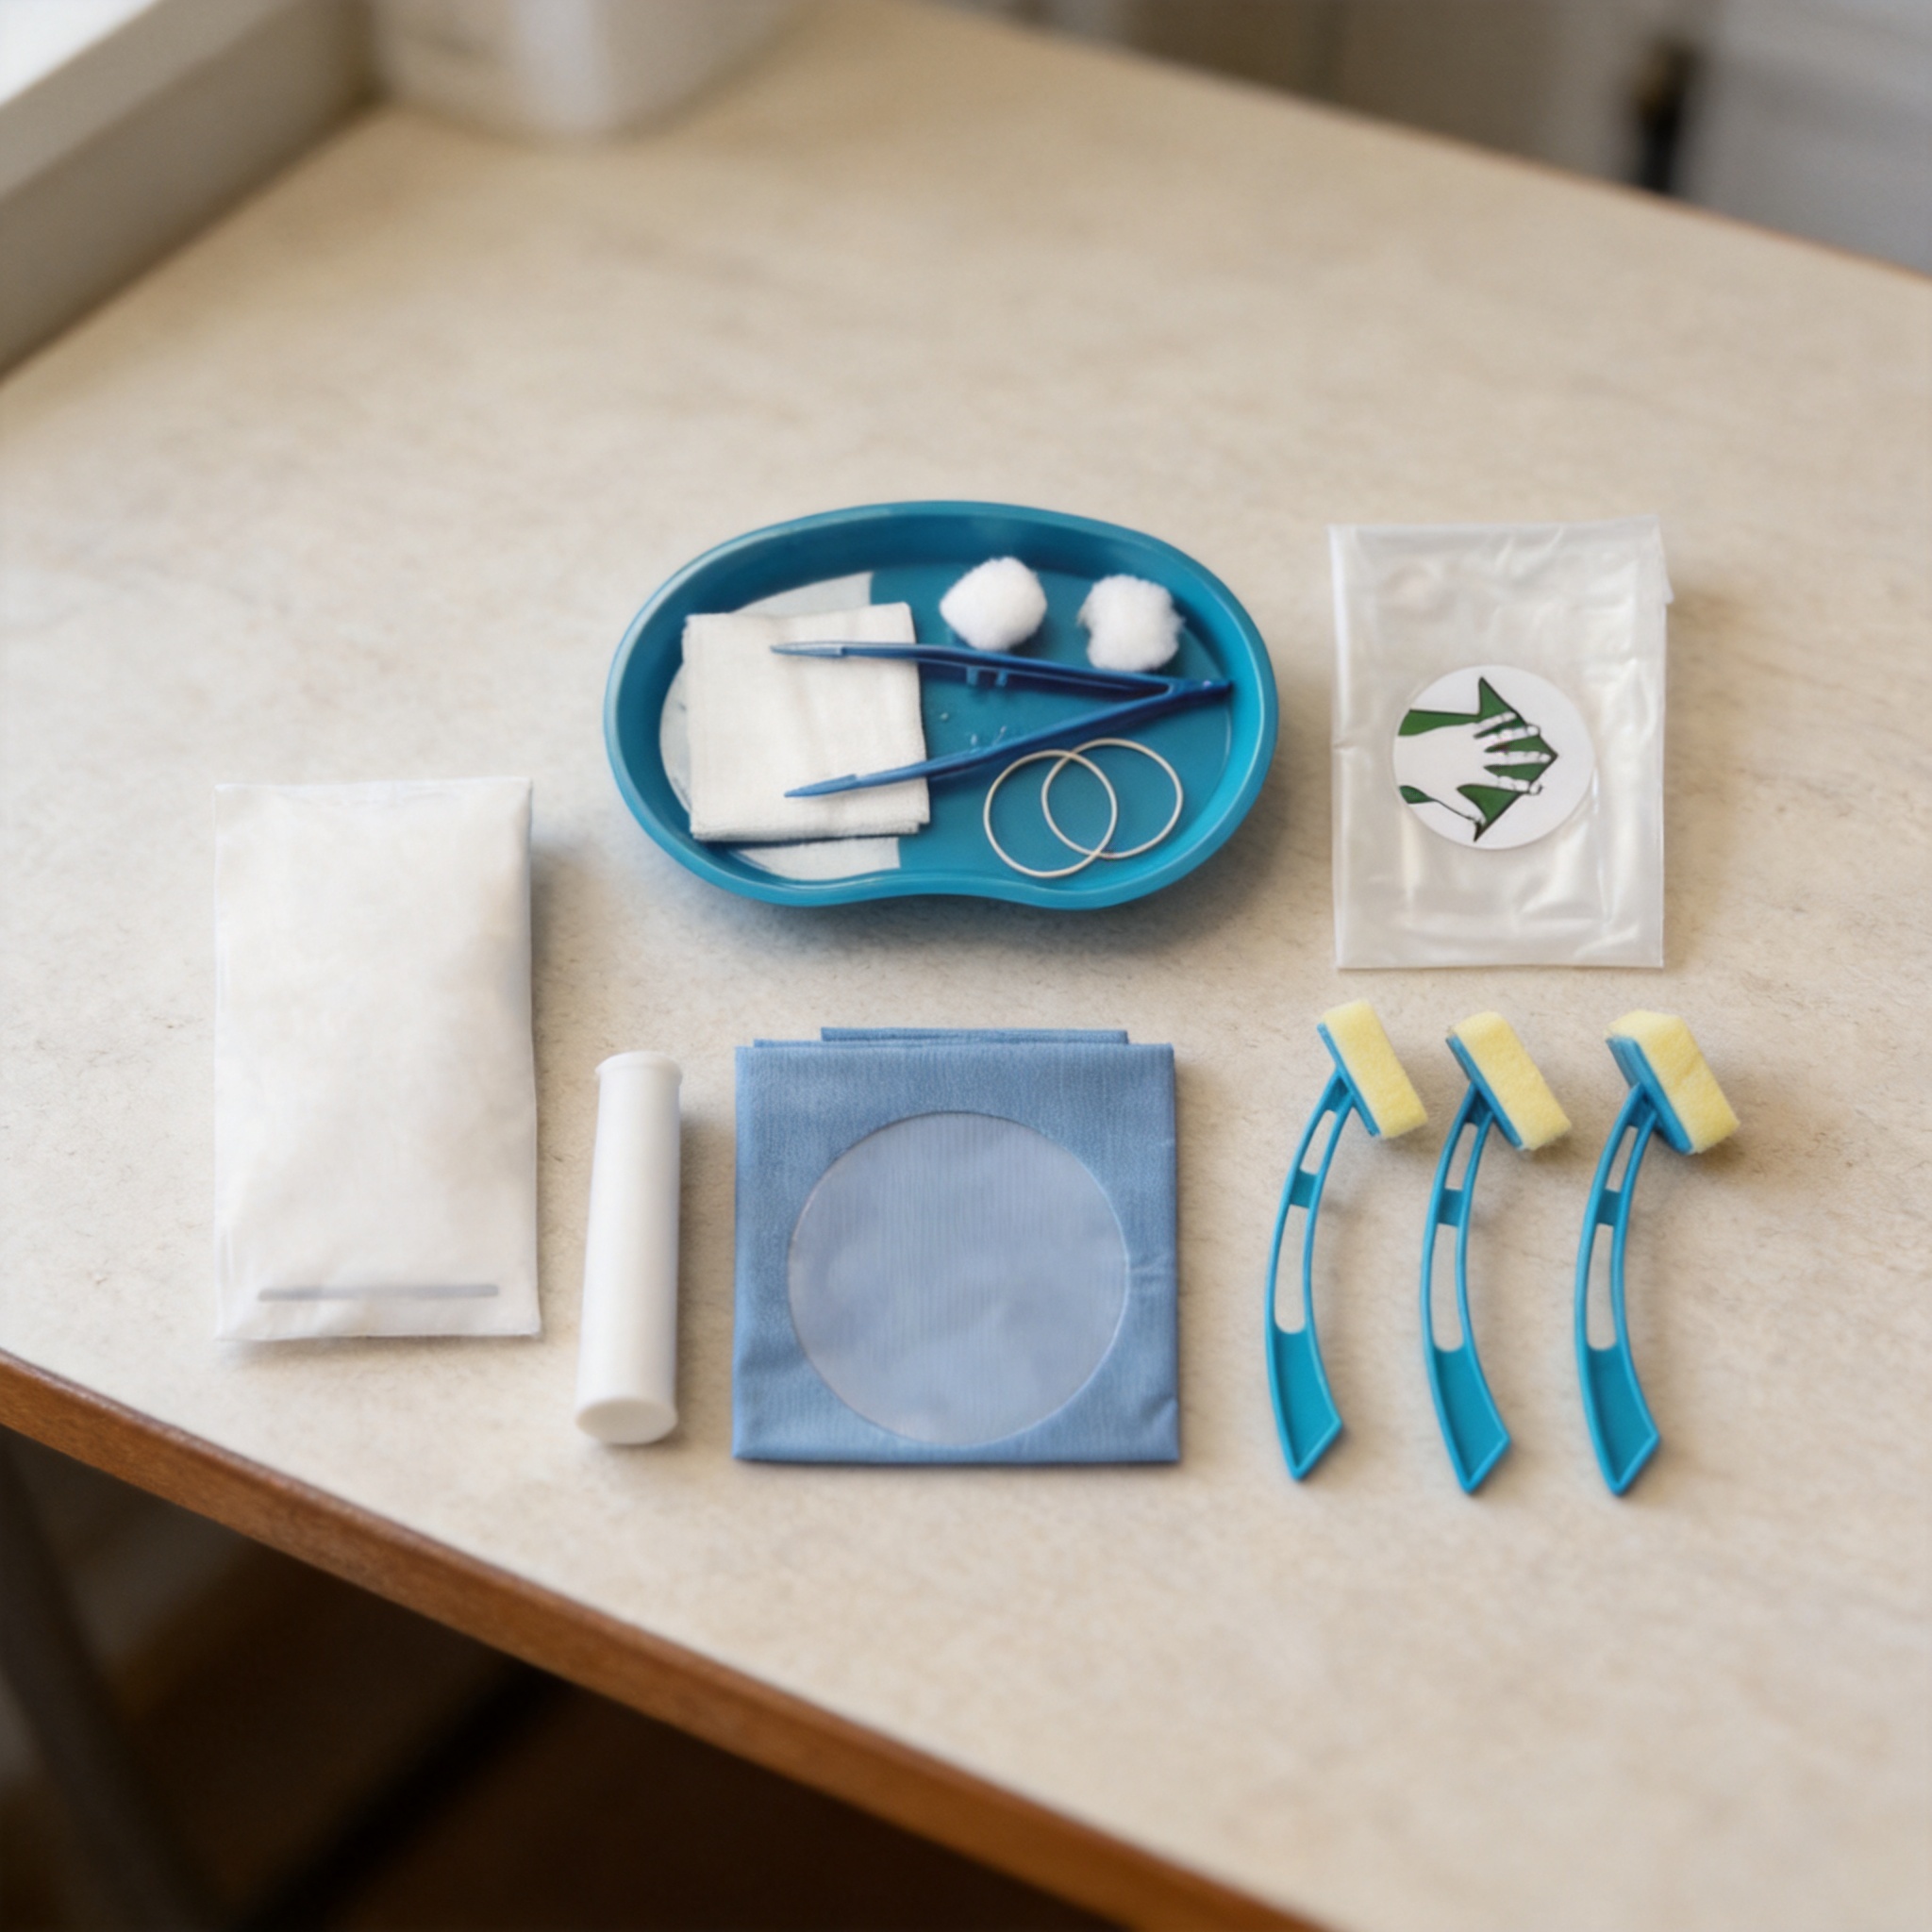
Work through the steps below in order. Each step is independently verifiable, so you can pause and check before moving on.
- Confirm the block plan and match the needle gauge. Superficial blocks (interscalene, femoral) work with 22G. Deep blocks (sciatic, lumbar plexus) need 21G or 20G for shaft rigidity. Record the gauge and length (usually 50 mm superficial, 100 mm deep) before opening anything.
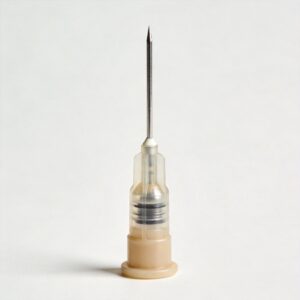
- Check the needle label for three words: echogenic, insulated, and tip type. If the label does not state the tip geometry, treat it as a short-bevel cutting needle and adjust your technique accordingly.
- Open the catheter kit and verify all components are present. A standard kit contains the catheter, a Tuohy or Crawford needle, a catheter connector, a filter, and a fixation dressing. Count them against the kit insert.
- Perform hand hygiene and don sterile gloves. Prepare the skin with chlorhexidine gluconate 2% in 70% isopropyl alcohol and allow it to dry completely — do not blot or fan it.
- Apply sterile gel inside the probe cover and place the cover on the transducer. Secure it with the supplied bands. Gel goes inside the cover only; the outside is wiped with sterile saline.
- Draw up local anesthetic into labeled syringes. Use a 20 mL syringe for the primary injectate and a 5 mL syringe for aspiration checks. Label each syringe with the drug name and concentration.
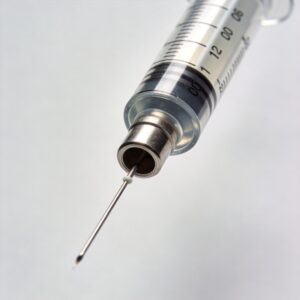
- Connect extension tubing to the needle and flush it. Prime the entire line with anesthetic so no air is injected. Confirm the plunger moves freely.
- Insert the needle under real-time ultrasound guidance. Keep the needle and transducer in the same plane. Advance only while you can see the tip.
- If placing a catheter, advance it 3 to 5 cm past the needle tip. Stop if you meet resistance. Withdraw the needle over the catheter while holding the catheter steady.
- Aspirate, then inject 1 to 2 mL as a test dose. Watch the spread on screen. If spread is not visible, the tip is not where you think it is.
- Secure the catheter with the fixation dressing and label the dressing with the date and time. Connect the filter and close the system.
The table below summarizes the selection decision rules so you do not have to hold them all in working memory.
| Block Depth | Needle Gauge | Typical Length | Tip Preference | Catheter Needed? |
|---|---|---|---|---|
| Superficial (<3 cm) | 22G | 50 mm | Pencil-point | Only for continuous |
| Intermediate (3–5 cm) | 21G | 80 mm | Pencil-point or facet | Common |
| Deep (>5 cm) | 20G | 100 mm | Facet with stimulator | Usually |
Catheter Kit Assembly Order
Assembly order matters because the sterile field cannot be re-entered once you begin. Lay out the components in the sequence you will use them, left to right, before you touch the patient.
- Catheter and needle (kept together until insertion)
- Connector and filter (opened but not attached)
- Fixation dressing (unwrapped, adhesive backing left on)
- Labeling tape and pen
Common Mistakes and How to Fix Them
Mistake 1: Losing needle tip visibility mid-advance. Symptom: the needle line fades and you advance on faith. Fix: stop advancing immediately, withdraw 1 to 2 cm, and re-align the needle to the transducer’s long axis. If visibility still fails, rotate the bevel toward the transducer — the beam reflects best off the flat of the bevel. Never advance a needle you cannot see.
Mistake 2: Over-advancing the catheter past the needle tip. Symptom: the catheter meets resistance or coils, and injection pressure is high. Fix: withdraw the catheter until it moves freely, then re-advance no more than 5 cm past the tip. If resistance recurs, remove the catheter entirely and re-insert the needle at a slightly different angle. Do not force it.
Mistake 3: Injecting before confirming spread. Symptom: the patient reports pain or paresthesia during injection, or no anechoic spread appears on screen. Fix: stop injecting, aspirate, and reposition by 1 to 2 mm. Injecting against resistance is the single most reliable warning sign of intraneural placement. A test dose of 1 to 2 mL should always produce visible fluid spread.
Mistake 4: Contaminating the sterile field during probe cover application. Symptom: the probe cover slips, or gel leaks onto the field. Fix: apply the cover before the needle is opened, and keep the covered probe on the sterile drape, not on the patient’s skin, until you are ready.
For reference standards on infection control during these procedures, see the CDC infection control guidance and the American Society of Regional Anesthesia and Pain Medicine (ASRA) practice advisories.
FAQ for Beginners
Do I always need a catheter kit? No. A single-injection block uses a needle only. Use a catheter when you need analgesia beyond the duration of a single dose — typically for continuous infusion over 24 to 72 hours. If your plan is one injection, opening a catheter kit wastes a sterile device.
How do I know if a needle is echogenic enough? Test it in a water bath or a gel phantom before your first real case. An echogenic needle produces a bright, continuous line at 45 degrees. A standard needle produces a broken, faint line. If you cannot see the difference in a phantom, you will not see it in tissue.
Can I use the same needle for more than one block? No. The needle is single-use. Re-inserting a used needle increases infection risk and dulls the tip, which degrades both tactile feedback and ultrasound visibility.
What if the catheter will not thread? Withdraw it fully, re-insert the needle 1 to 2 mm deeper or at a slightly different angle, and try again. If it fails a second time, abandon the catheter and perform a single-injection block instead. Repeated threading attempts cause tissue trauma.
How much anesthetic should I inject as a test dose? 1 to 2 mL. This is enough to see spread on the screen and to provoke a warning sign if the tip is intraneural, but small enough to limit harm. Never inject the full volume before confirming spread.
For a deeper clinical reference on ultrasound-guided technique, the New York School of Regional Anesthesia (NYSORA) maintains a peer-reviewed educational library covering needle approach and catheter management.


 English
 Deutsch
 Français
 Русский
 Español
 Português